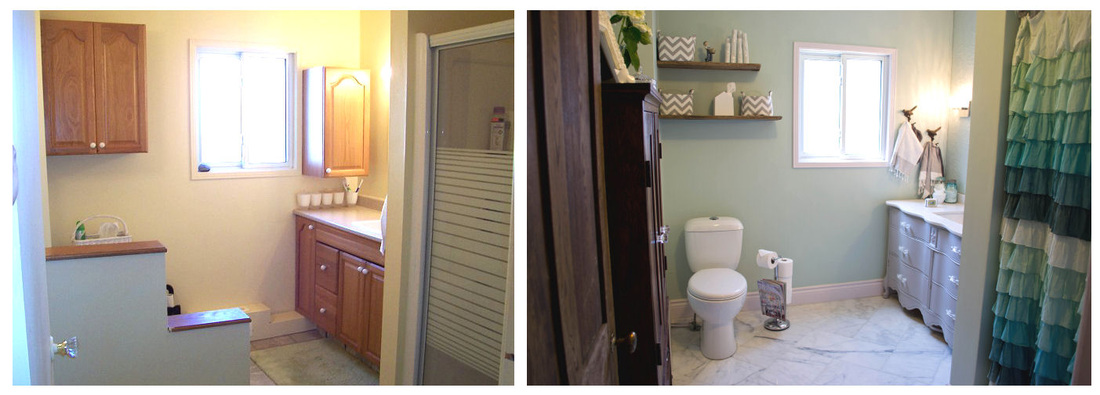
Our home has but one bathroom... so when it came time to redo it we knew we had to make the most of things. While this is exciting, it also means that every day it's under construction is another day we're showering at work and using a chemical toilet in the basement (gross, I know). The before pictures you see above are not a reflection of how we got the house (if you can imagine it was even worse), but back then we were more focused on removing the filth than picking up a camera, so you'll have to use your imagination. In this vein, when we redid the bathroom (almost 2 years ago) we were more concerned about getting it back up and running (as all labour was done by us after work and on the weekend), so again we unfortunately don't have any progress pictures.
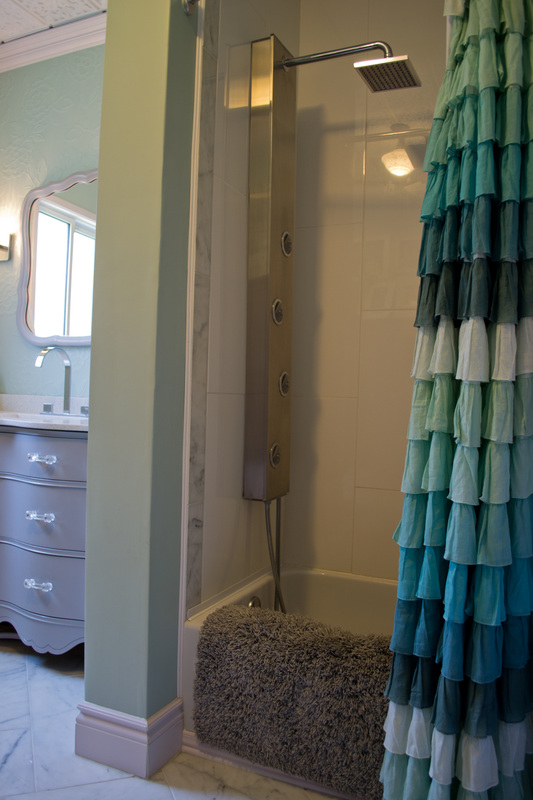
This whole thing started when we realized our soon-to-be-born child would have nowhere to bathe. Our bathroom had a bad '80s shower stall- no tub. We decided to take the plunge and gut it down to the walls. After taking out a tape measure we determined that without completely changing its floor plan we weren't going to be able to fit a standard 5' tub where the shower once sat. The solution ended up being a 54" model and beefing up the 1/2 wall to make up the difference. Since the only one bathing would be our daughter this wasn't a huge deal for us. We splurged on the shower side of things and sourced a jetted shower column. Money well spent!! I can't imagine going back to a single shower head. White 12x24" tiles line the shower and marble offcuts frame the space.
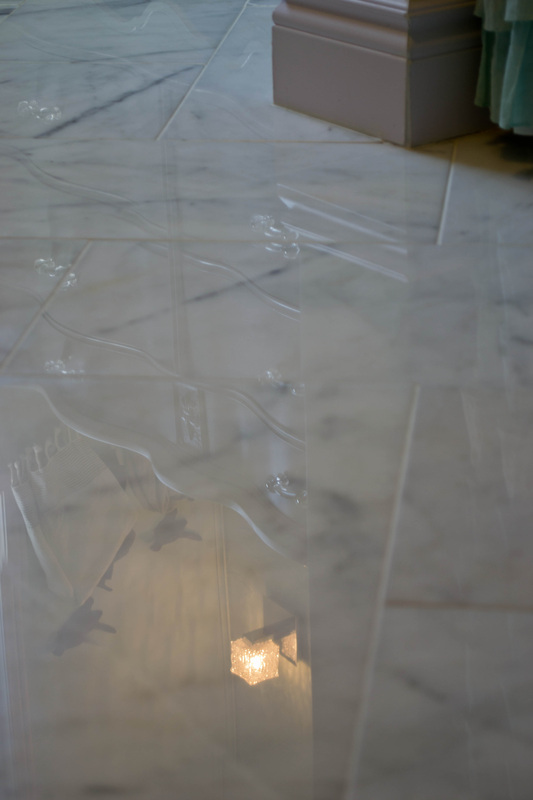
Offcuts from what? I'm glad you asked! Speaking of splurge, we decided to go all out when it came to the floor. 12x24" white carerra marble was laid out in a bias herringbone pattern, and underneath lives a Suntouch floor heat system. We removed the heat register from the room altogether so we needed to reintroduce a heat source, and this ended up being the perfect solution. The 7 day programmable thermostat helps keep your toes toasty and your hydro bill low, well worth the $100 premium.
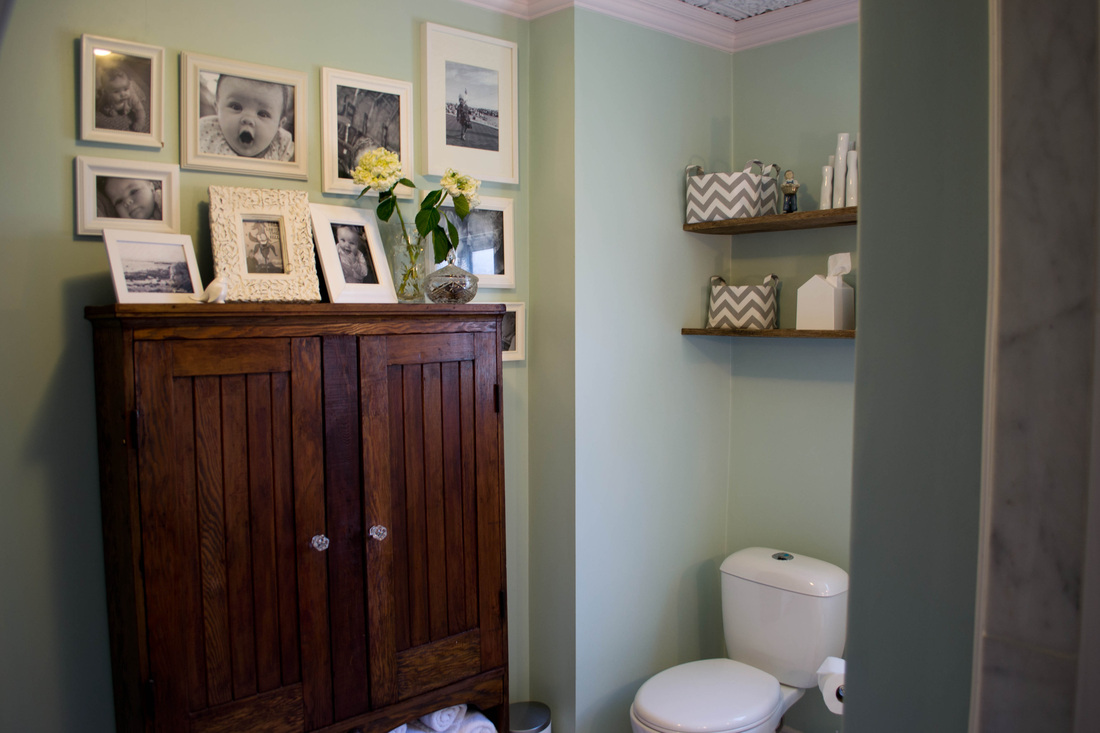
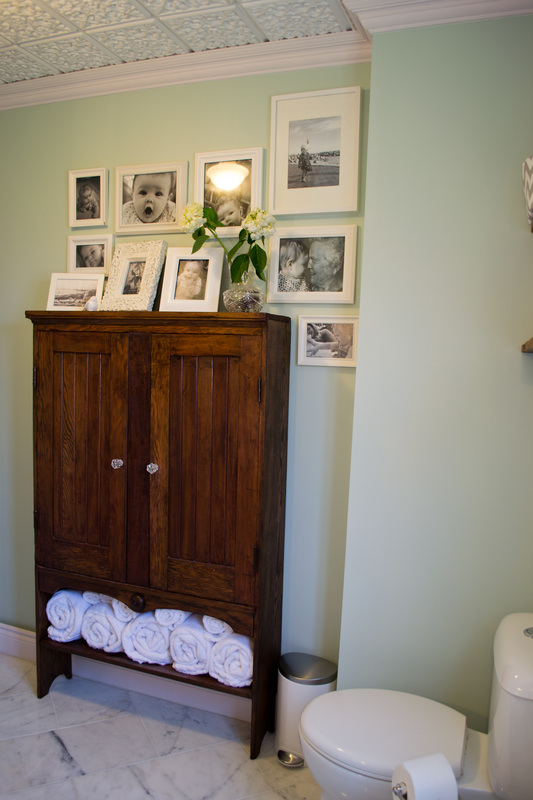
One thing you hear time and time again when it comes to bathrooms is you never want to see the toilet when first walking in. As you can see we ignored this advice, removing the knee wall and leaving the toilet where it was. One thing we didn't want to do was change the floor plan too drastically. The bathroom has a very narrow crawlspace under it and re-routing plumbing would have extended the timeline significantly. We figure you pick a pretty enough toilet and nobody will care.
One thing you hear time and time again when it comes to bathrooms is you never want to see the toilet when first walking in. As you can see we ignored this advice, removing the knee wall and leaving the toilet where it was. One thing we didn't want to do was change the floor plan too drastically. The bathroom has a very narrow crawlspace under it and re-routing plumbing would have extended the timeline significantly. We figure you pick a pretty enough toilet and nobody will care.

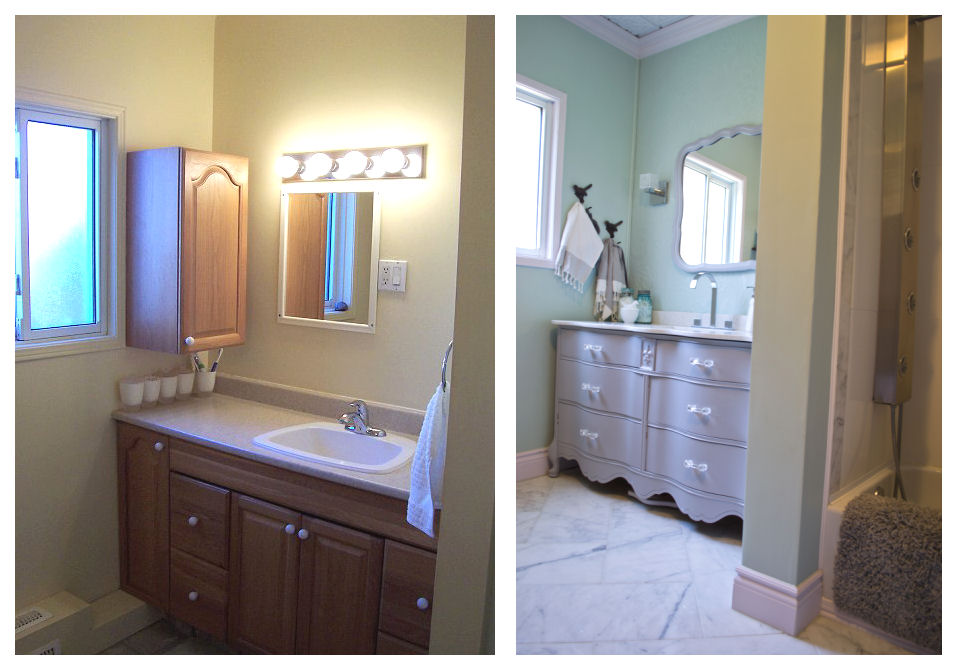
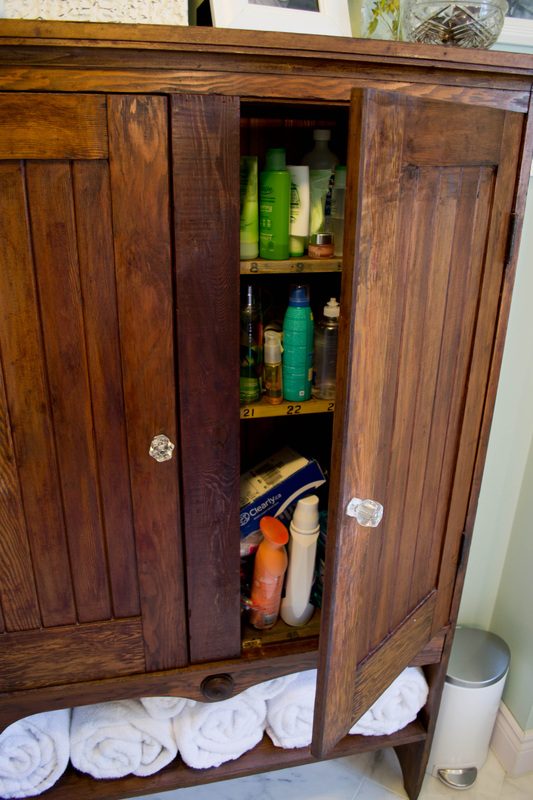
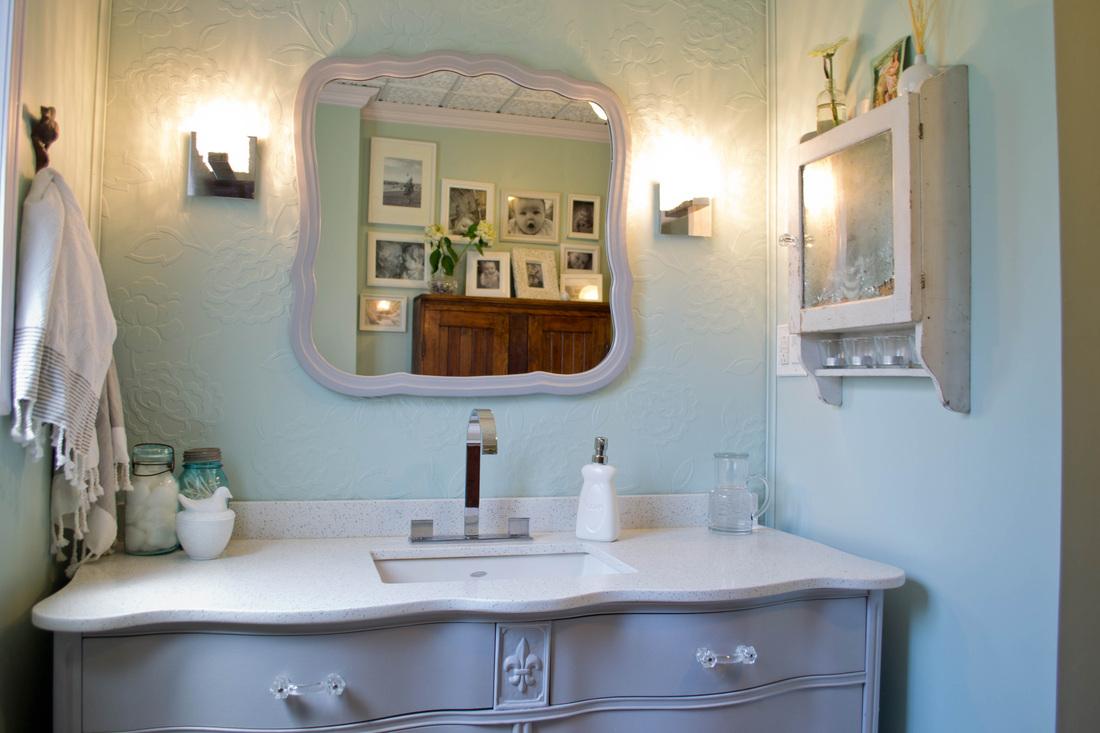
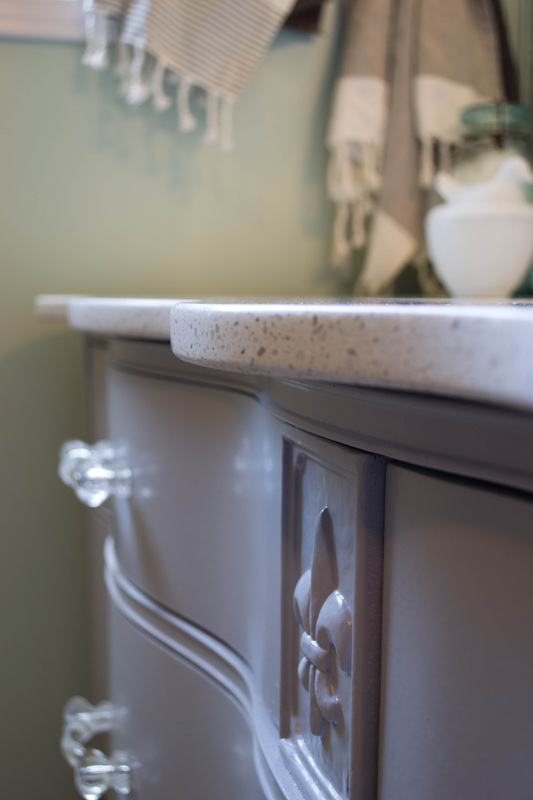
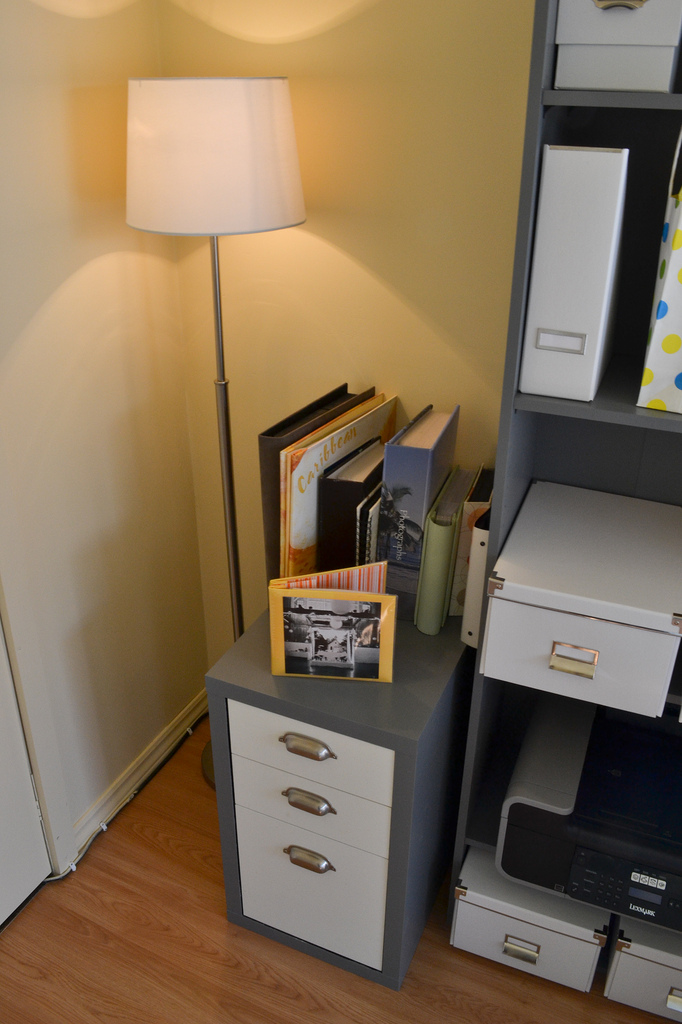
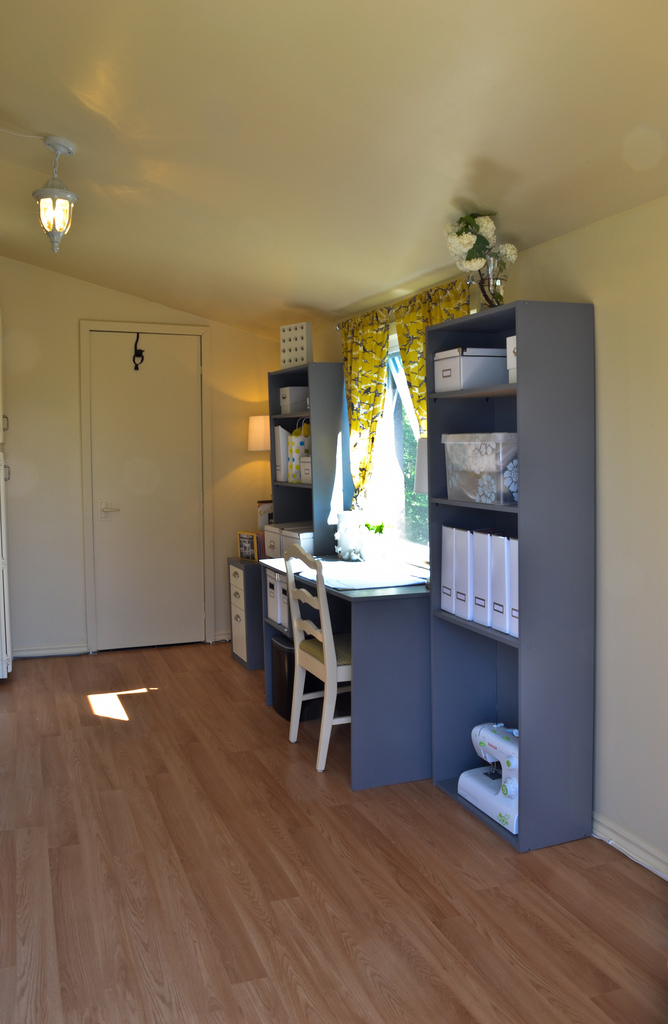
The vanity started life as a dresser which we found it on Kijiji for $150. It's not an antique, but it's solid wood from a good furniture maker. We were able to salvage all but the top 2 drawers, so it's functional as well as pretty. Luckily for us, the dresser also came with a mirror. A huge mirror. We sectioned about 18" out of the middle of the frame, and had the mirror cut down to fit. Pro tip: paint the back of your mirror frame before mounting the glass!! This is a tip we learned after the fact, which you may or may not be able to see from these pics. The quartz top was another splurge item, but we ended up getting a good cash deal and they threw in the under mount sink. Some reproduction glass handles and a nice coat of dove grey really brought this piece together... before pics on this one would have been awesome. The other furniture piece was found at the Christie Lake Antiques Show for a mere $180! It was covered in a horrible maroon paint job, but it stripped and stained very well. It apparently came from a school house, and inside it had little numbered cubbies for the students. We kept as many as we could while making it functional for our purposes.
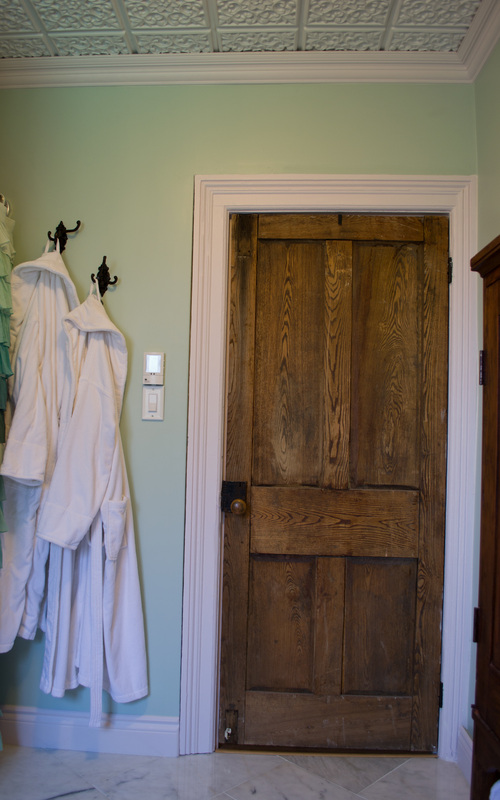
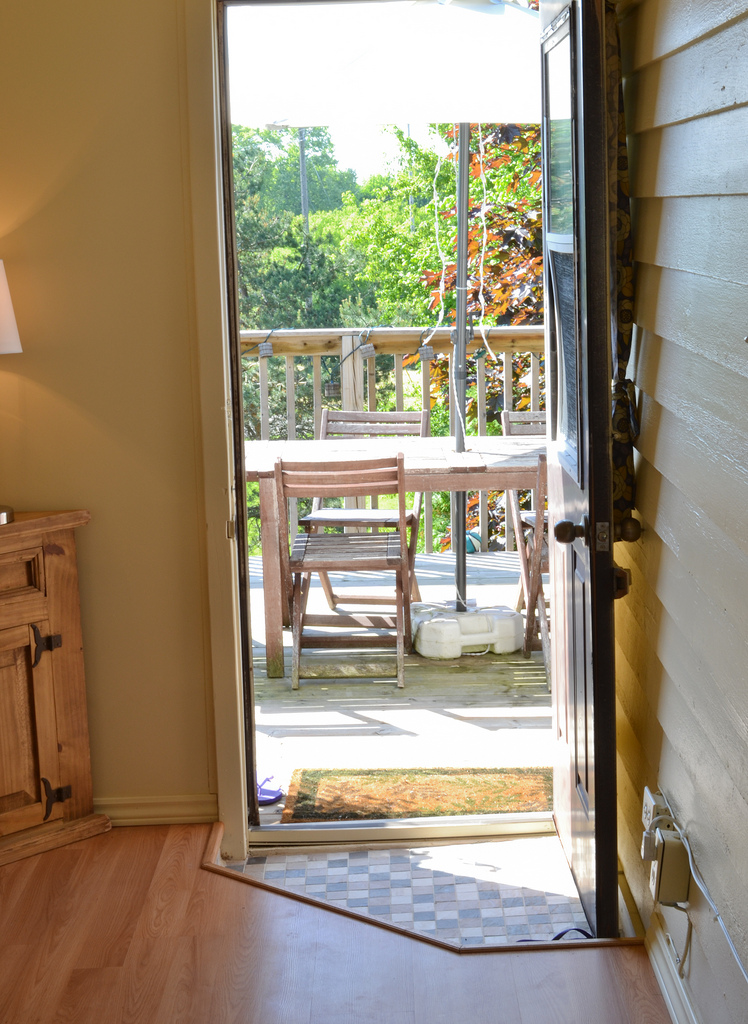
Other finishing touches include textured wallpaper on the vanity wall (Hayley's favourite detail), reclaimed barn board turned floating shelves, a great antique medicine cabinet generously donated by our friends Mark & Karen (thank you!) which we left as-is, a stunning door sourced from Timeless Materials Company during their window & door sale, and the inspiration for the colour palate- the ruffled shower curtain from Urban Outfitters. The final piece to the puzzle is a Roman blind to cover the less-than-attractive window, which will be crafted this weekend by grandma & great grandma (thank goodness for them!).
Other finishing touches include textured wallpaper on the vanity wall (Hayley's favourite detail), reclaimed barn board turned floating shelves, a great antique medicine cabinet generously donated by our friends Mark & Karen (thank you!) which we left as-is, a stunning door sourced from Timeless Materials Company during their window & door sale, and the inspiration for the colour palate- the ruffled shower curtain from Urban Outfitters. The final piece to the puzzle is a Roman blind to cover the less-than-attractive window, which will be crafted this weekend by grandma & great grandma (thank goodness for them!).
 |   |
|  |
Check out our new "Favourite places to spend money" section for info on where we found many of the things featured in our bathroom and the rest of our home!


 RSS Feed
